


With so many video tutorials out there these days, it’s not surprising that many girls choose to DIY a lot of things including makeup. But we’re not talking about ordinary, everyday makeup. We’re talking makeup for an ultra-special occasion like prom. Perfect prom makeup used to require a trip to your mom’s favorite beauty salon, but not anymore. If you follow a few basic steps and then learn a couple of fancy techniques like eyes and contouring, you can create your own makeup masterpiece. It’s really not that difficult, and here’s a cheat sheet to get you started on getting all those gorgeous prom makeup bases covered!
Choose Your Prom Makeup Pegs
The first thing to do is to pick a makeup look that you can imagine yourself wearing on prom night. There are 3 simple criteria for narrowing down possible choices:
Make sure it works well with your dress: You want your makeup to balance your entire look. This means if you’re wearing an elaborate dress, keep makeup to a minimum, so you don’t look overdone. If your dress is light and airy, skip the heavy looks and go for something equally light and refreshing. As much as you want to make an impact at prom, balance is essential so always keep that in mind, especially while practicing prom makeup application.
Choose a makeup look that you can quickly master: The look you choose should require techniques that either already in your current skill set or are something that you can master after just a few practice trials.
Pick a look early: Pick your prom makeup style several weeks before the event, so you have enough time to do trial and error until you get it all down pat. That’ll also give you time to change your mind if you look you originally wanted just doesn’t work or if you don’t feel you can get it right.
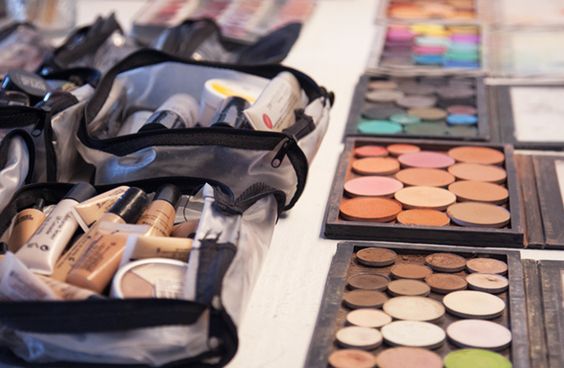
Prepare Your Makeup Tool Kit
Once you’ve chosen your ideal look, the next thing to do is to make a list of the tools and makeup items required for it.
Take inventory: What do you currently have and what do you need to replace either with the same brand or something better?
Pro Tip: If you haven’t already, now’s the time to invest in a quality set of makeup brushes!
List needs in order of importance: As a general rule, prioritize the base items that will prepare your facial canvas.
- Foundation
- Concealer
- Eyebrow pencil or powder
- Sculpting powder
- Mattifier
These items are staples, and because they should be the best quality you can afford, obviously they’re pricier. That’s why they need to go at the top of the budget list.
Always choose smudge-proof: Definitely go for waterproof mascara and smudge-proof eyeliner. These add drama to your eyes, but they shouldn’t stick or run or worse, smudge underneath and give you raccoon eyes.
Lastly, choose glamor items: These are your color makers—blush, eyeshadow, and lipstick. They’re super fun to shop for, and you can get good quality items at a reasonable price if you look around.
Sequence your DIY Makeup Steps
Each complete makeup application will look different on each girl, but there’s a general rule that every woman should follow to ensure that every makeup application goes as smoothly as possible.
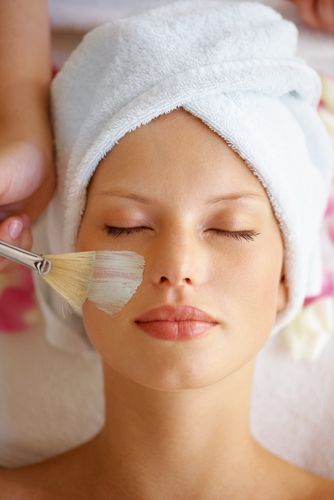
- Cleanse, tone, and moisturize: A clean face makes for a clean base, so be sure you follow your basic three-step routine to prep your face before makeup application. Also include any other steps like exfoliant or serum, etc. Always dry your face by patting it gently with a soft towel to avoid aggravating your skin.
- Mattify your shiny areas: A mattifier ensures that your face won’t look shiny or oily in person or in photos. Apply a tiny bit of this product on any areas of your face that oil up quickly, for instance, your forehead and the apples of your cheeks.
- Spot conceal: Use a concealer brush to apply light layers of concealer to blemishes and any other imperfections you want to hide. Note: The goal of concealer is to use the product sparingly and apply just enough to make the area the same color as the rest of your face.
- Apply foundation sparingly: You won’t need as much foundation with a good concealer so use just a little foundation on a damp sponge. Alternatively, if you use powdered foundation, apply sparingly with a good foundation brush. Be careful on the concealed areas so that it stays in place. You can also use just a bit more foundation on areas that are a little darker or redder—the sides of your nose, underneath your eyes, etc.
- Set your foundation with loose powder: Lightly tapping loose powder all over your work will help it to stay put. Note: If you’ve used powdered foundation, you might skip this step depending on personal preference.
- Color in your eyebrows: Make sure your eyebrows are nicely groomed by plucking or waxing, then choose a brow product that you’re comfortable working with. Don’t go overboard—just pencil or brush in tiny lines in the same direction and shape that your natural brow hairs grow. Don’t be tempted to skip this step—you need a little more brow definition with a formal makeup look so that they don’t “disappear.”
- Do your eye makeup: Always start with eyeliner. Whether thick or thin, draw your liner as close to your lash line as possible. Tap gently with a little bit of translucent powder to speed up the drying process and set the color. Next, apply your eye shadow. When you’re done, use a clean brush to flick away any eye shadow powder that may have settled on your cheeks. Finally, curl your lashes and apply 2-3 coats of mascara to make your eyes pop.
- Blush on: Apply your favorite blush above the apples of your cheeks and sweep up to just before your temples. Blend thoroughly—you don’t want to look like you have two pink circles. The goal is always to look as if you’re flushed with a healthy glow.
- Color your lips: Apply as much or as little lipstick as you wish, depending on what your preferred look dictates. Apply one coat, blot lightly, apply another, then set with a light touch of translucent powder. This will help keep your lipstick from vanishing too soon.
Get a head start, choose your favorite look, then practice your DIY look to perfection. By the time prom night rolls around, you’ll be a makeup pro and look like a princess!
For help choosing your hairstyle, check out our blog on the hottest prom styles of the season:
Prom Season Primer the Hottest Hair & How to Get It
If you’d like to DIY your hair as well as your makeup, here are 6 gorgeous DIY twist updo’s to try: Perfect Prom Hair DIY 6 Twists to Love